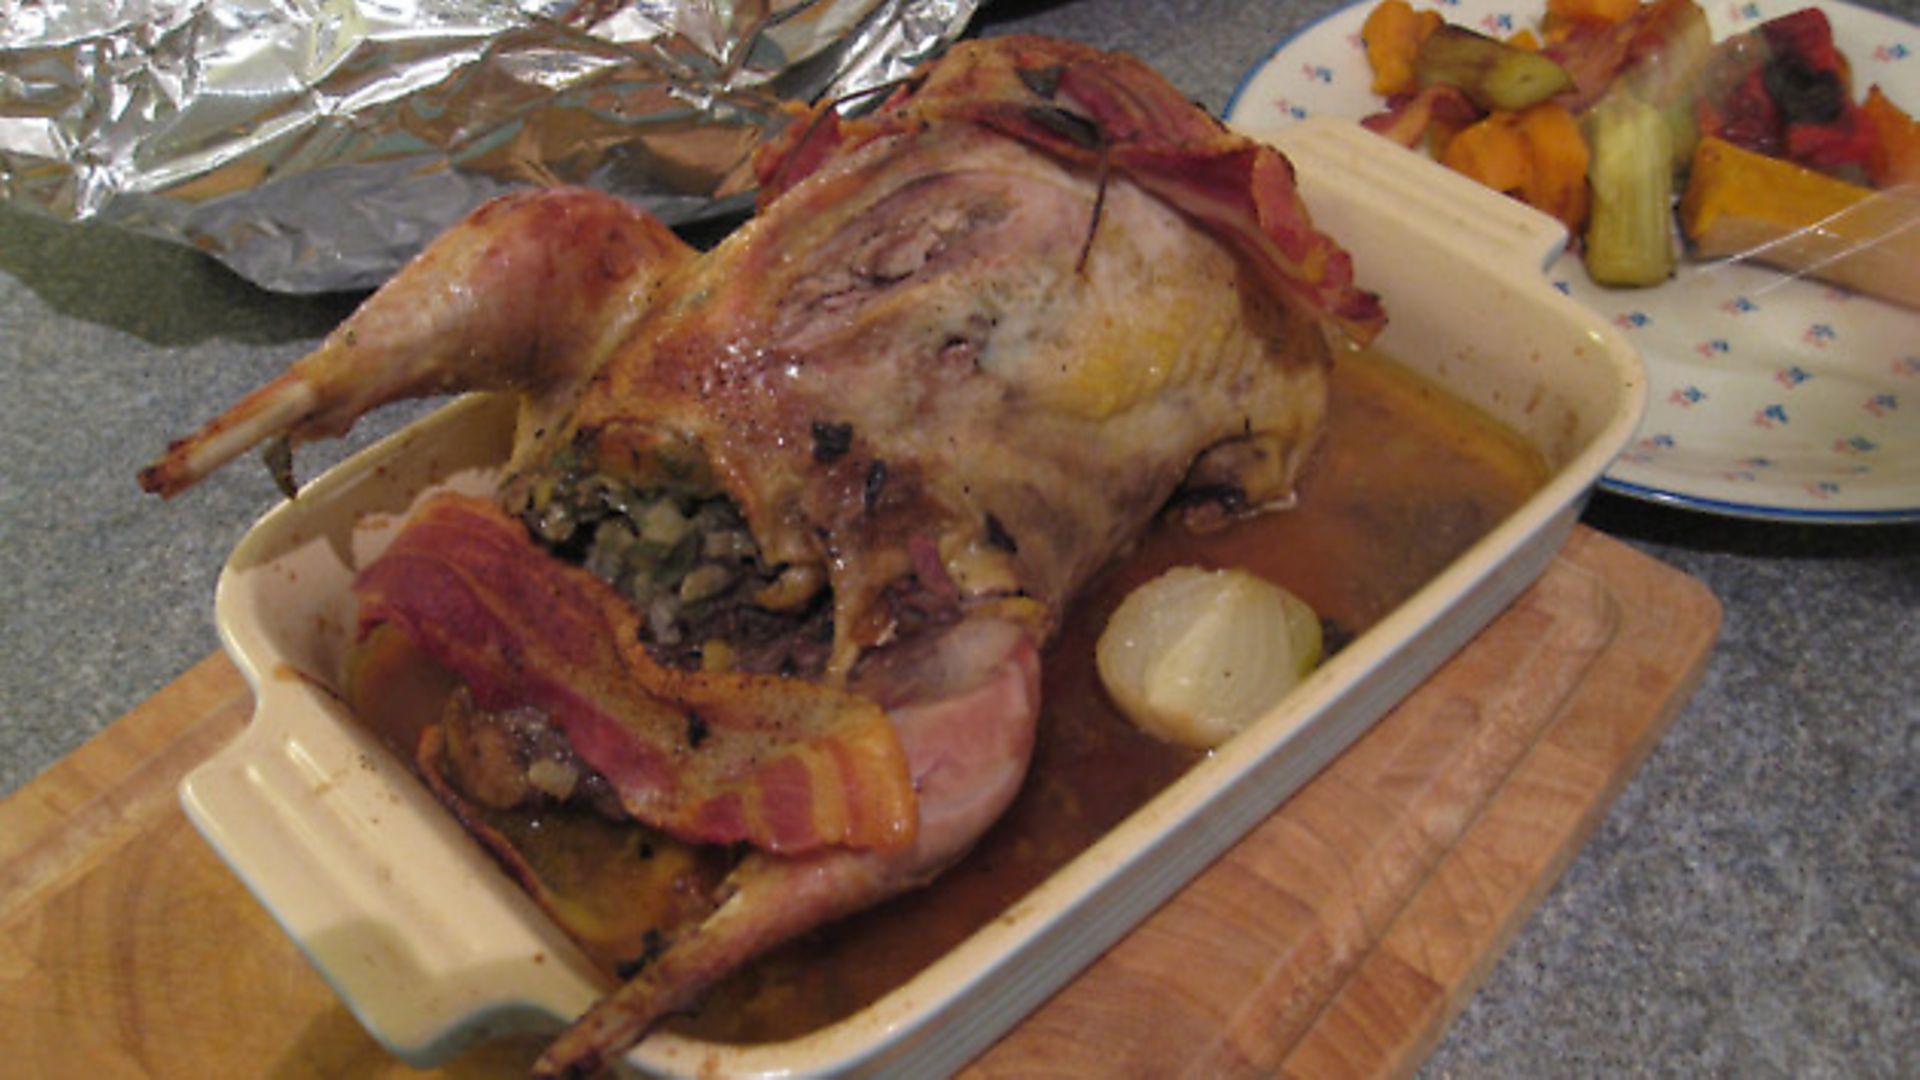
A simple, step-by-step guide to plucking, gutting and preparing your whole pheasants in the feather, with links to useful demo videos
https://twitter.com/search?f=images&vertical=default&q=oven%20ready%20pheasant&src=typd
• Plucking phase 1
Start at the legs. The proper technique is to pull the feathers downwards first in the direction they grew in, and then sharply back on themselves, against the direction of growth. Using this method, pluck the feathers from the bird working your way up and around until both legs are plucked clean.
• Plucking phase 2
Turn the bird over so that you can access its back. Using the same method as in phase 1, pluck the feathers from the back, working from the top of the tail to about half-way up the neck. The feathers are thicker and tougher and you don’t want to tear the skin. Hold it taut and grasp the feathers right at their base. (Ladies, it’s a bit like waxing – taut skin, short sharp tug!)
https://twitter.com/search?f=images&vertical=default&q=roast%20pheasant&src=typd
• Plucking phase 3
Turn the bird over again and repeat phase 2 on the front, working from the plucked legs up over the breast to the same point midway up the neck.
• De-winging
Using a good pair of poultry shears remove the wings at the first joint – not where they attach to the body, but one joint further along. Remove any remaining feathers from around the wing joint.
https://twitter.com/search?f=images&vertical=default&q=pheasant%20plucking&src=typd
• Burn the teeny-tiny quills off (optional but recommended)
To remove any tiny residual quills or feathers, just hold the bird above a flame (any flame – gas ring, candle, friend-with-match…) and turn it so the flame passes briefly over the entire skin.
• Remove head, feet, and tendons (optional)
Using the shears remove the head from halfway up the neck (where you plucked up to), and the feet from the ‘elbow’, the main join mid-way down. You now have the option of removing the tendons before cooking. It’s not essential, but they can make it rather tough if left. If you do remove them, use this method –
 credit: Archant
o Instead of cutting all the way through the leg joint, just cut half way through.
o Pull the joint open in the opposite direction to which it naturally bends.
o Pull the tendons out. Use just your fingers or a blunt knife/similar to hook them out – sometimes they slip out very easily, other times they require a good tug.
• Remove the ‘crop’
Reach into the neck and try to pull out the crop (the small bag of recently swallowed food) in one piece without spilling the contents.
• Draw the bird (remove the entrails)
It’s not pleasant but, if you’re particularly squeamish, I wouldn’t recommend preparing your own pheasant anyway, so..! Take a breath and hold it – this is about to get smelly. Find the cloaca (it’s a bum-hole, ok?) and cut across it so you can fit two or three fingers inside. Yes, you’ve guessed it; you now need to slide two or three fingers in, grab hold of anything loose and squidgy, and pull it out, preferably in one go.
• Hey presto! Your pheasant is now ready for cooking! Why not give our delicious pheasant tacos a go with your oven ready birds? And don’t forget to grab a bottle of something to complement your hard earned dinner.
Don’t forget, there’s always more than one way to skin a cat (or, pluck a pheasant!). The following links are all very useful and include extra tips and tricks, and slightly different methods. It’s up to you which you go with!
Classic farmyard plucking
In BASC we trust
Speedy wet pluck
Squeamish or short of time