Having spent more than eight years teaching others how to skin rabbit on cookery courses up and down the country, I have come across several other variations upon a theme – from gamekeepers to noblemen, everyone seems to have their own peculiar slant on what is more or less the same technique.
I am aware that many of you will have been skinning rabbits for years, but there will hopefully be something for even the most seasoned bunny butchers that may just prove useful. Who knows?!
For those of you just stepping into the world of rabbit prep, butchery and cookery, this should set you on the right path for developing your own tried and tested way to prep rabbits.
I’m taking for granted here that you will have killed and paunched the rabbit in the field – if not, I’d suggest getting the guts out ASAP! Make sure you purge the bladder as well – no one wants rabbit pee all over their butchery surface, though it has been known to happen.
If you have the opportunity, skinning your bunnies while they are still warm will make life a little easier, but more often than not by the time I reach home on my quad bike, I’m so exhausted from my lamping frenzy that I tend to pop them straight into the chiller, or lay them out on the garage floor if it’s cool enough to do so. Then I pour myself a glass of glory, wipe the rifle down and hit the hay.
Whether warm or cold, I will use the very same technique to skin my rabbits. One thing that I always do is save the livers for a foodie treat. Some people also keep the kidneys, but I have to say that I tend to give mine to the dogs. It’s not that they are not worth eating, but I am an old softy and when the hounds make those eyes at me… I’m lost.
Food prep/butchery area
First, let’s talk about your prep area. I have an old pine table that I use at the moment, as its predecessor has finally given up the ghost! This one is not weathering well in the garden, but I’m sure a new plywood top on it will get me through another few years.
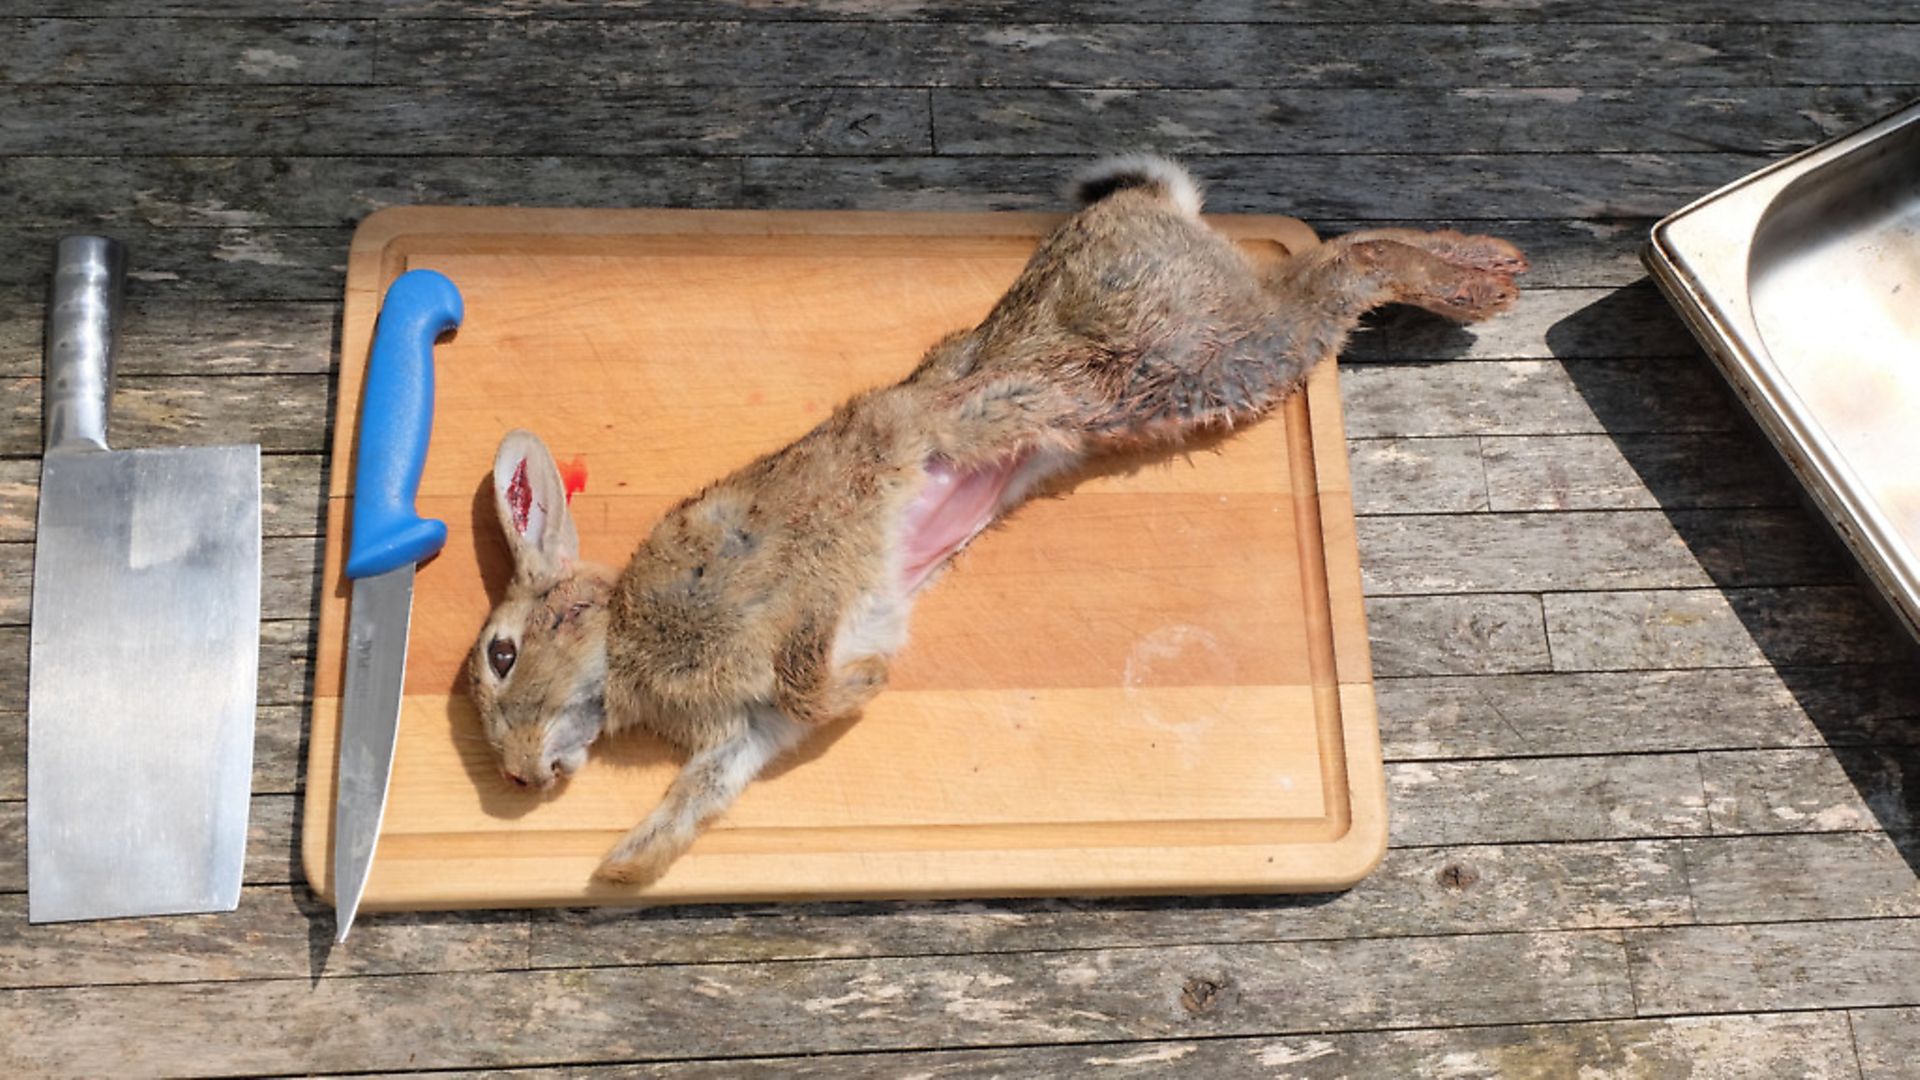
To hand, I will have everything I need. In this case, that is a chopper, a sharp boning knife, some kitchen roll, a good pair of scissors and a few plastic trays and a bucket. Bucket for head, feet, tails and any damaged bits, the trays are for the various bits of rabbit and different stages of the job in hand.
This helps to keep everything reasonably ‘food safe’ and sound. We are not preparing for a food factory here or even for sale of any kind, but even so it makes sense to have a good procedure for sorting your bunnies, or any other game for that matter. Working in this way not only makes things safer from a food safety point of view, but also nicer from a cookery point of view. Although a little blood and fur is probably inevitably going to end up on the meat, keeping this to a minimum is only going to make things easier and more enjoyable in the kitchen.
Skinning and gutting the rabbit
Onto the job in hand. Remove the skin. This I do very simply. First, I separate the skin from the flesh in the middle of the rabbit using the cut along the belly where the guts have been removed (pic 1). Once I have loosed the skin all the way round the back of the rabbit, I repeat on the other side so that the skin is loose all the way round.
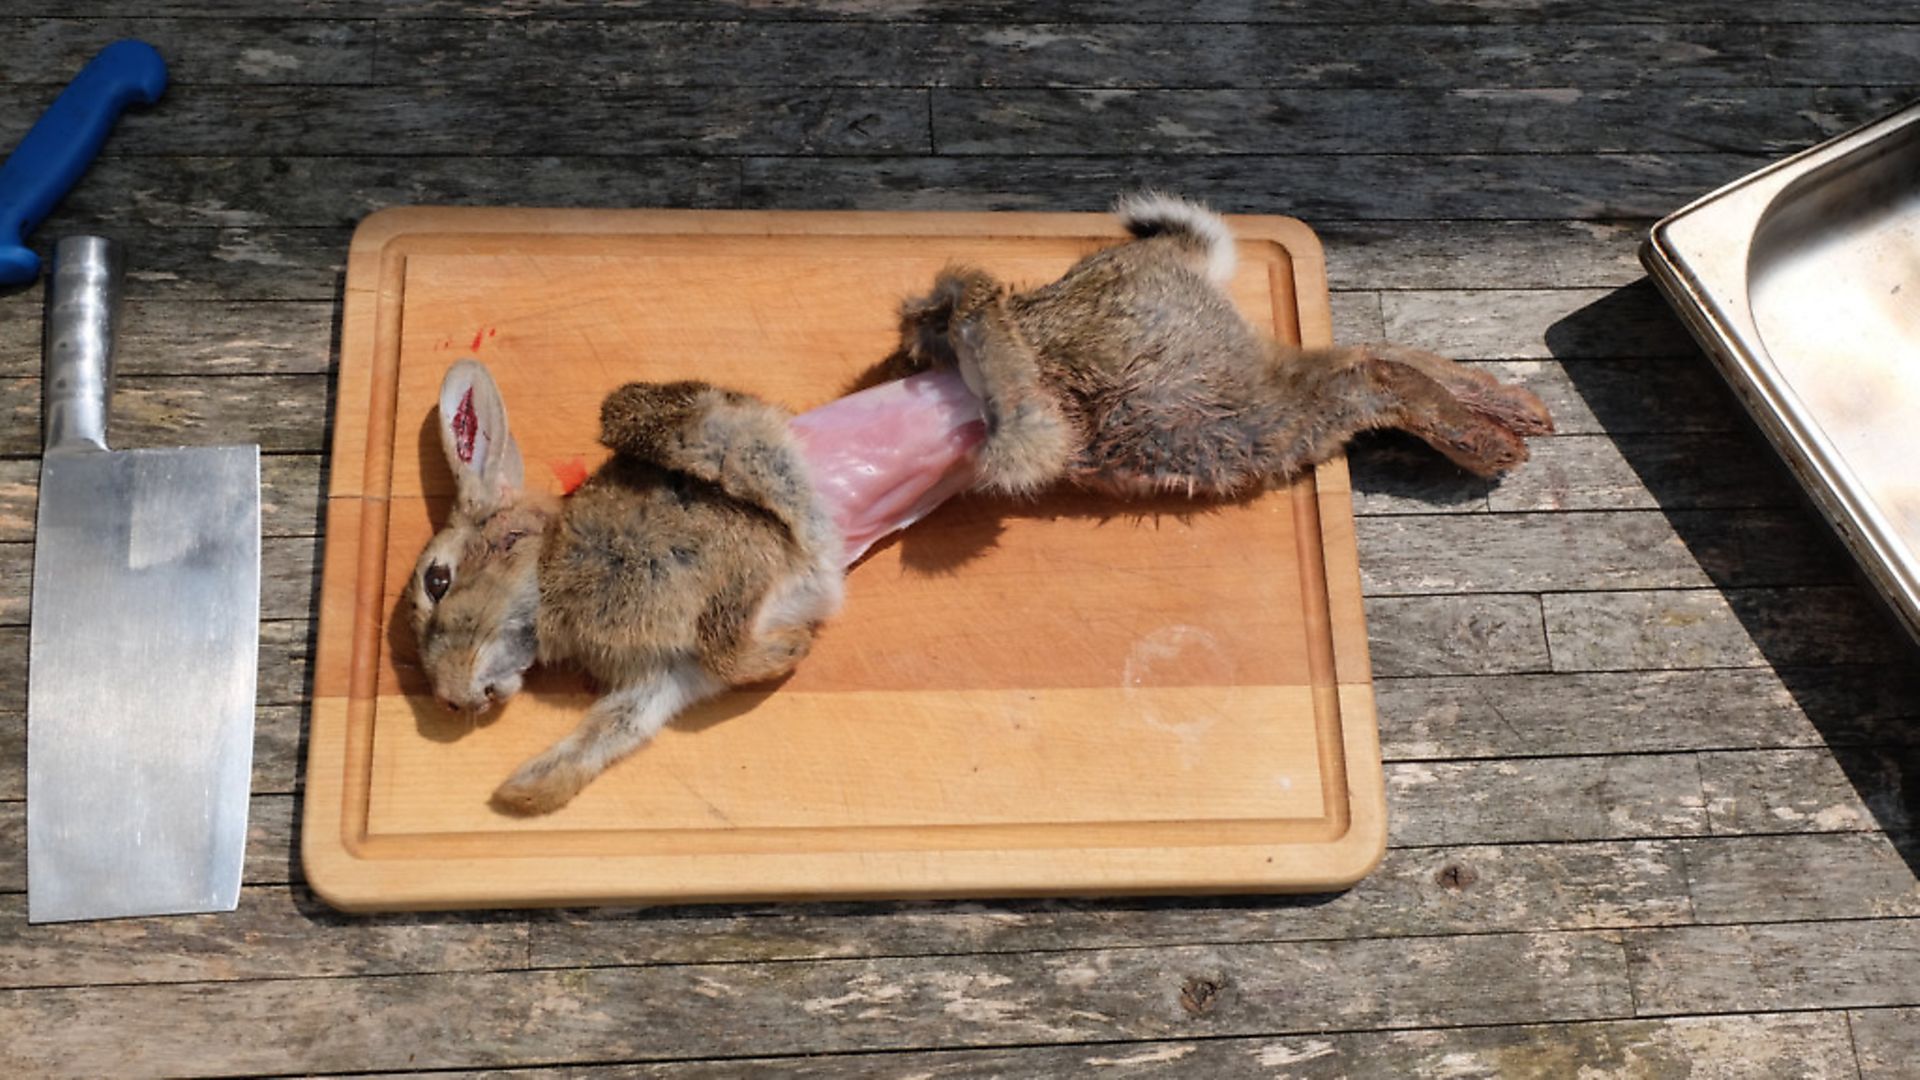
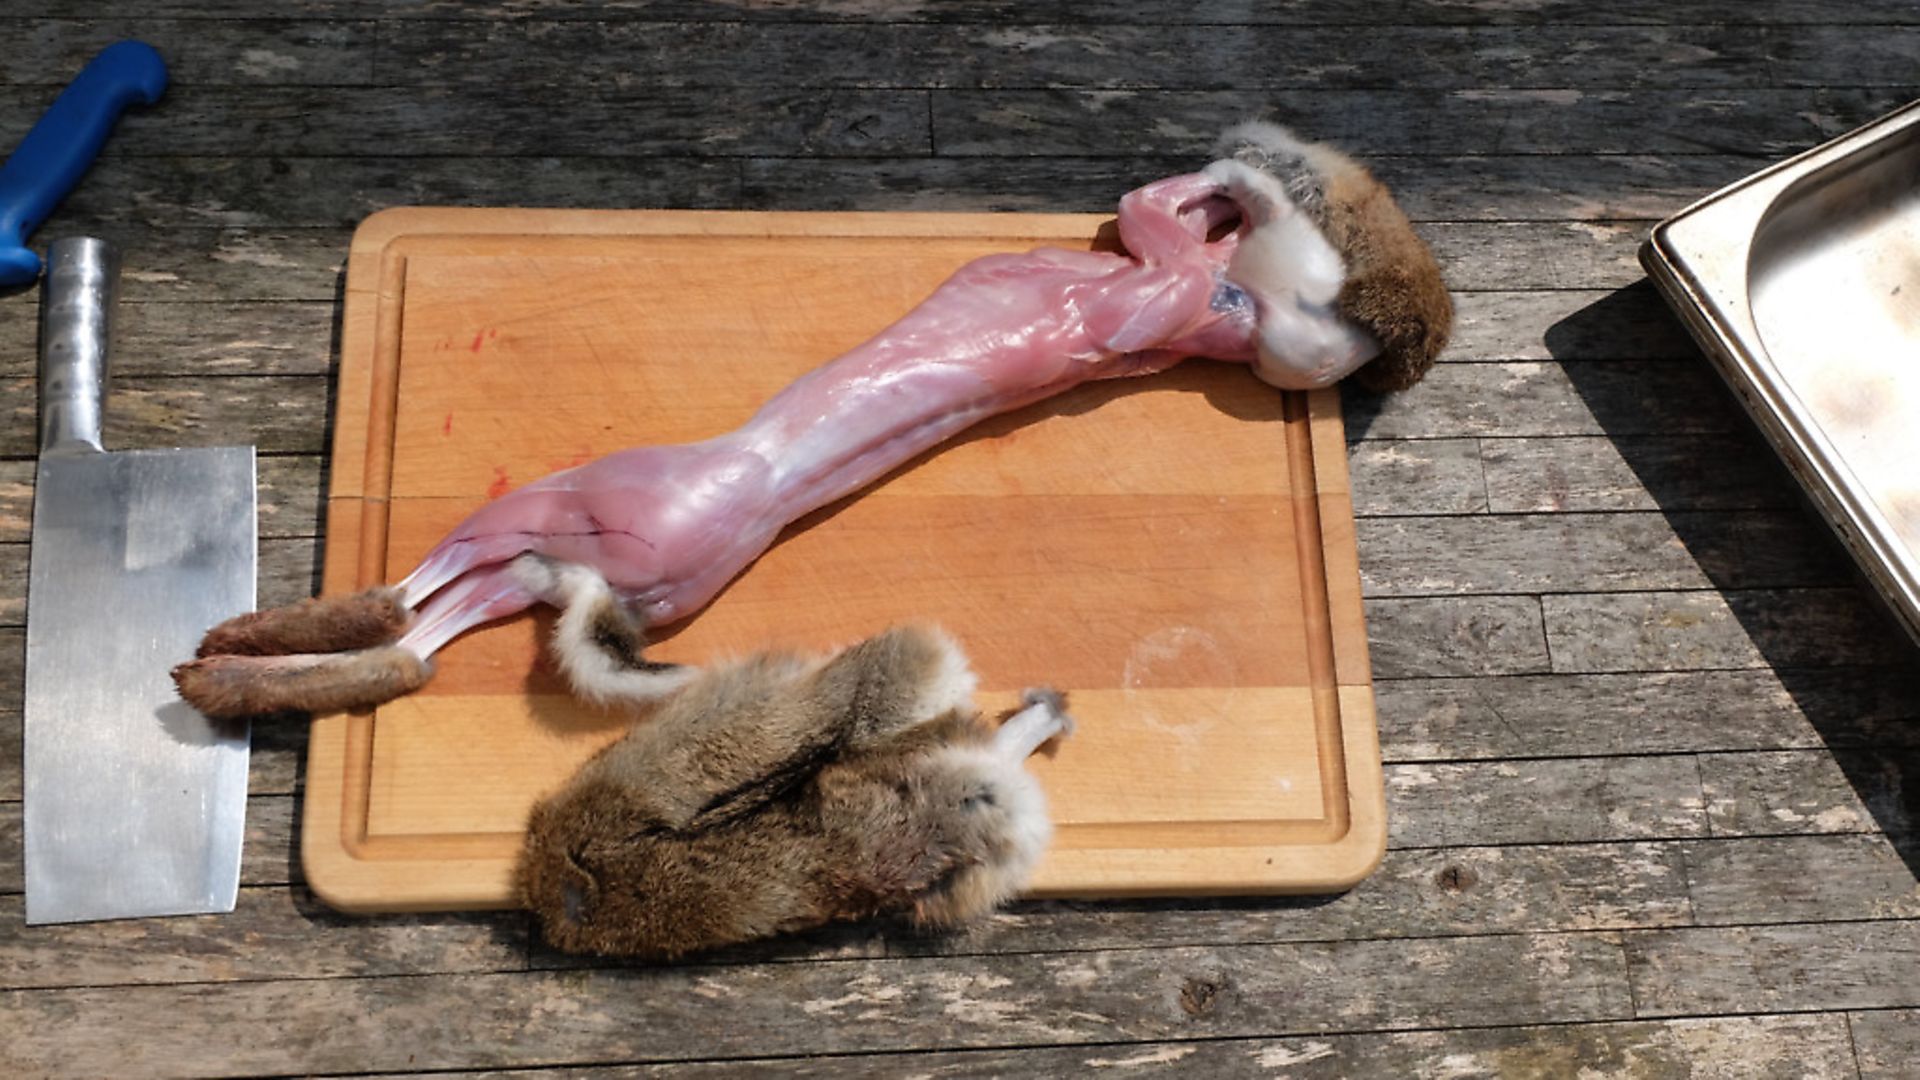
Carefully, so as not to cut yourself, cut this skin flap all the way through so you now have two loose ends of rabbit fur (pic 2). Now, holding the other end firmly on the work surface, grab a loose end of fur and pull it away from the other end and keep going until it is either all the way off – leaving little socks on the feet – or until it gets stuck (pic 3). This can happen with older rabbits, particularly bucks, in which case you will have to use the knife to help loosen the skin where it’s stuck by gently slicing at the connective tissue around the flesh under the skin. Repeat with the other half.
Now, using the chopper, remove the head and feet before picking up the knife to remove the tail (pic 4). This is done by simply slicing the tail off while giving it a gentle pull. Slice as close to the rabbit’s haunches as possible with the knife flat.
Returning now to the chopper, lay the rabbit on its back and chop either side of the pelvis to free up the lower intestine; doing so means that you can really deal well with this area that is likely to contain a few little pellets of rabbit droppings.
Then, taking a good piece of kitchen roll to protect my fingers from the now razor sharp fractured pelvis, draw the remaining lower intestine through the pelvis removing any remaining risk of “faecal contamination”. Delightful!
At this point remove any remaining fur from the table and put down a clean board, or get the next rabbit to the same stage if doing more than one.

Butchering/jointing the rabbit
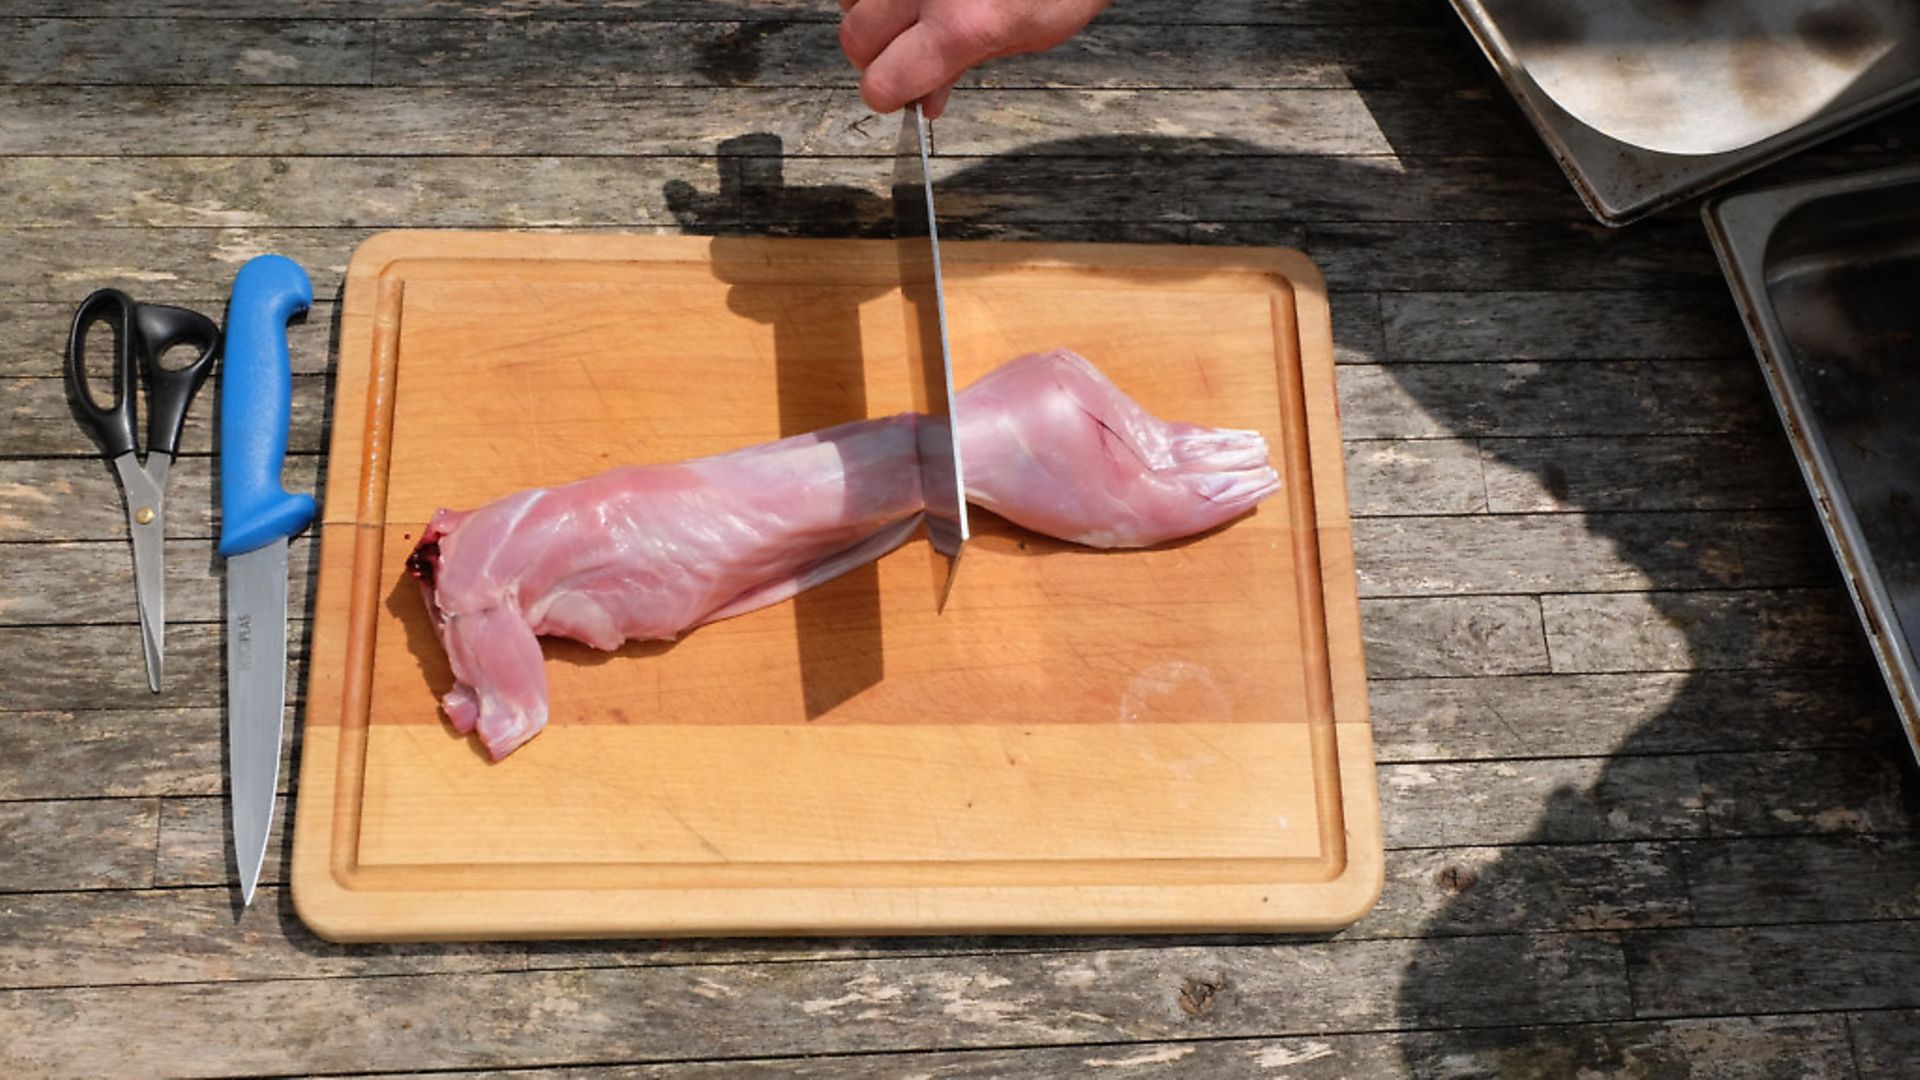
Now it is a simple act of butchery, although there is the possibility you still have the lungs, heart and other organs to deal with. These can be simply removed by puncturing the diaphragm inside the rib cage and pulling out all the gubbins. Now for the butchery. I tend to break all my rabbits down in the same way. The first cut will separate the saddle and front from the haunches, or rear legs if you prefer to call them that. This is done with the rabbit lying on its side.
Run your finger down the side of the rabbit until you find the protruding hip bone jutting out just before you get from spine to rump. This bone is your mark and you just chop straight down through the spine and out the other side.
Now, I cut between the legs to split them into two separate haunches. Lastly, I will remove any grey/brown gland material that remains close to where the tail used to be. Removing these will make a huge difference to the flavour of the rabbit when you later cook it, making it less bitter.
Put the legs to one side and proceed to remove the front legs with the knife, simply by lying the knife flat underneath the front legs – or shoulders if you like – and then cutting out towards the front of the rabbit. There are no ball and sockets or anything to worry about with the shoulders – be it a rabbit, deer, pig or even cow – simply a collection of connective tissue and tendons (this is what makes these animals so agile and what gives them the ability to graze with ease). Place the shoulders to one side and pick up the scissors.
I like to end up with quite a long saddle of rabbit (the best or most tender part of the animal), and to do this I tend to take it quite a long way up towards the neck – thus including what would be the fore-rib into the saddle.
To do this, I simply start at the thick end and snip off the belly flaps all the way up the side of the saddle and continue on through the ribs until I reach the end of the rabbit, then repeat on the other side.
Then I will make a call on how bloody and damaged the meat is at the top (if it’s a chest shot or been taken by a dog), just chopping off that bit and putting it to one side to be used along with the belly flaps for either a stock or dog snacks.
And that’s it! Your rabbit is now ready for wrapping, labelling and freezing or fridgeing or cooking.
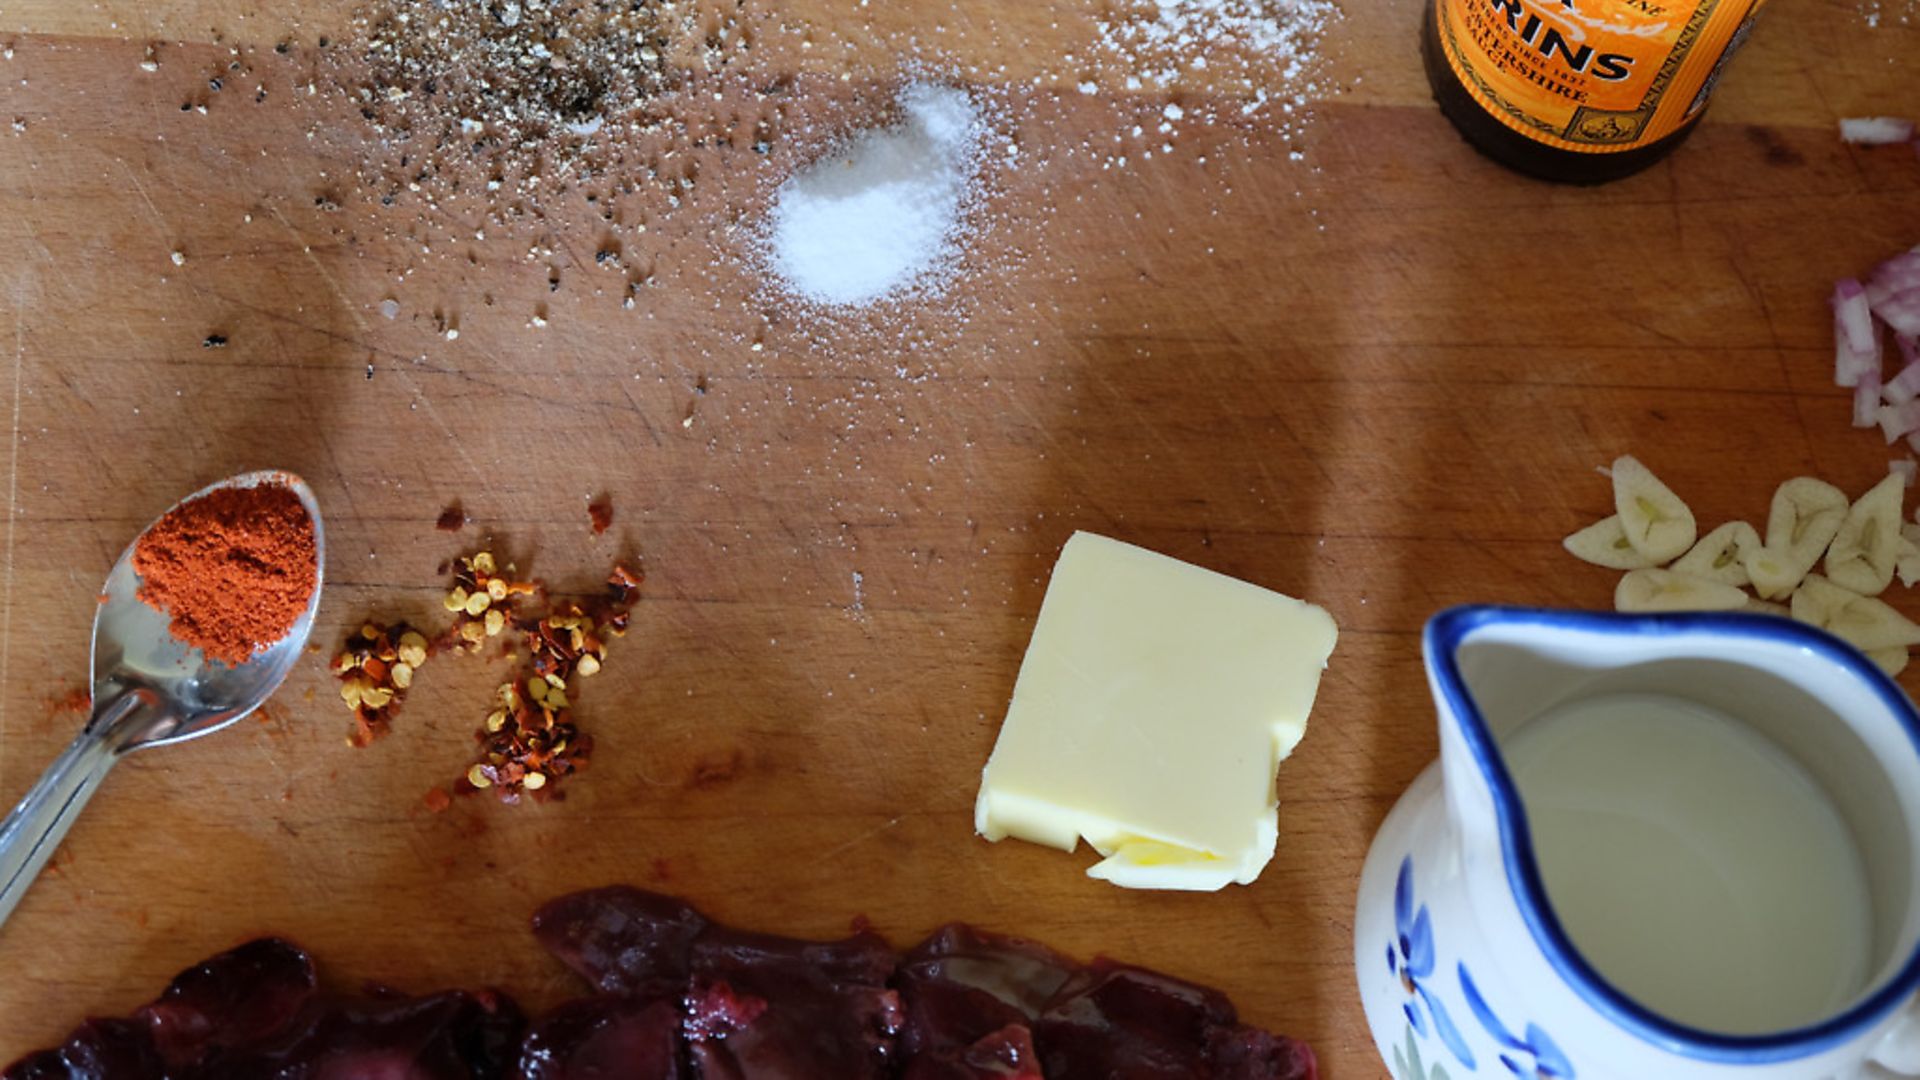
Devilled rabbit livers on toast recipe | Serves 1
This simple recipe is one to enjoy while the livers are as fresh as possible. Make sure you remove the little green gall bladder from each liver – the green slimy bit – this can be just pulled off or trimmed out with a sharp knife.
Ingredients
- 3 or 4 rabbit livers
- ¼ onion finely chopped
- 1 clove garlic finely chopped
- black pepper and salt
- a little flour
- Worcester sauce
- English mustard
- 1/8 pint of milk
- chopped fresh parsley
- a nice slice of decent toast
- a dash of whisky – optional
- a good knob of butter
- chilli flakes and a pinch of paprika
Method
1. Make sure you get everything to hand and pop the bread in the toaster to get it nearly ready before you start cooking this dish.
2. Season your rabbit livers with salt and pepper, and you can add a little chopped thyme as well if you have some handy.
3. Heat a small frying pan on the stove and pop some of the butter in. While the butter is foaming, pop in the livers and cook for a minute and a half on each side. Then remove them to a small dish nearby to rest and keep warm.
4. Now add the onion and garlic to the pan along with the whisky if you are using it, cook rapidly for a minute or two and then add, say, half a teaspoon of flour and stir well.
5. Add a good dash of Worcester sauce, a little mustard and stir again.
6. Turn the heat right down and add the milk, a little at a time, increasing the heat to get the sauce to a low simmer if needs be.
7. Reintroduce the livers, add the chilli and paprika, turn off the heat, add another small knob of butter and stir. Rest for a minute before serving on toast sprinkled with the parsley.