Steve Rawsthorne’s expert guide to shooting partridge will ensure you make the most of your time behind the gun
 credit: Archant
The first of September is, for me, the start of the game season proper; grouse are fantastic, but too expensive for me, unless I’m fortunate enough to get an invite (hint, hint)!
Rather like grouse on the Glorious Twelfth, early September partridges have still got fairly soft feathers, whereas the same bird in November during a pheasant drive will be very different, faster and stronger. It is really important that if we are shooting Perdix perdix (grey partridge) or Alectoris rufa (French partridge) in the first months of the season, that we are selective, taking older birds where possible and letting the weaker birds mature so that they will be more sporting later in the season.
Also, if you have bought an early day, if one Gun starts chopping low birds down, others tend to join in, on the basis that the others are filling their boots and they’re not getting any shooting. It spreads along the line and by lunchtime you have shot the bag of not very good birds, and an early finish or ‘overage’ charges will follow.
You need to adapt your shooting style and particularly your start position to the topography and the birds you are shooting on any particular day. Some of the classic partridge shoots, such as Gurston Down, can produce clouds of high driven birds as good as a December pheasant, while others will have the Guns stood back behind hedges to ‘lift’ the birds to make them shootable. There is a balance to be struck here: stand the Guns too close to the hedge and they never really get a chance to shoot the birds as a driven shot because they will not see them in time to react, but stand them too far back, and your partridge will fly over the hedge and swoop down once past it, making it unshootable.
 credit: Archant
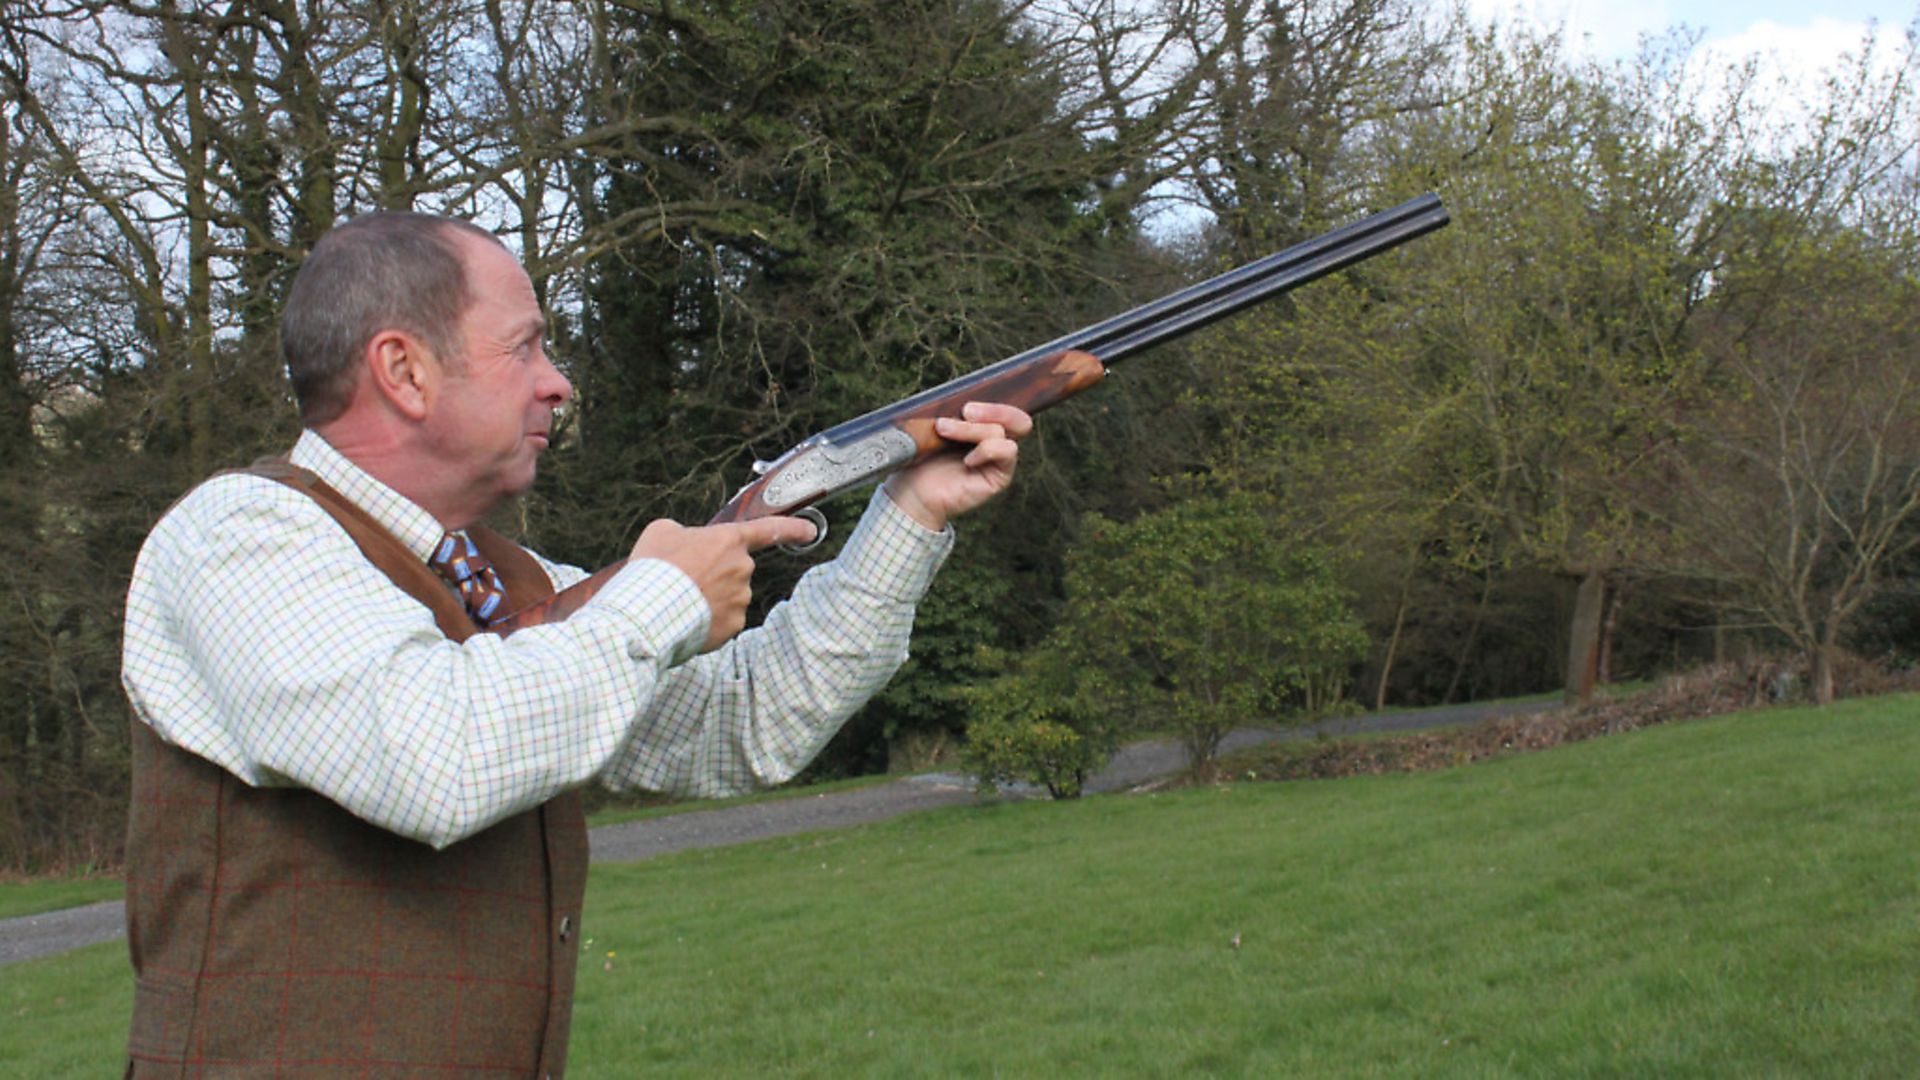
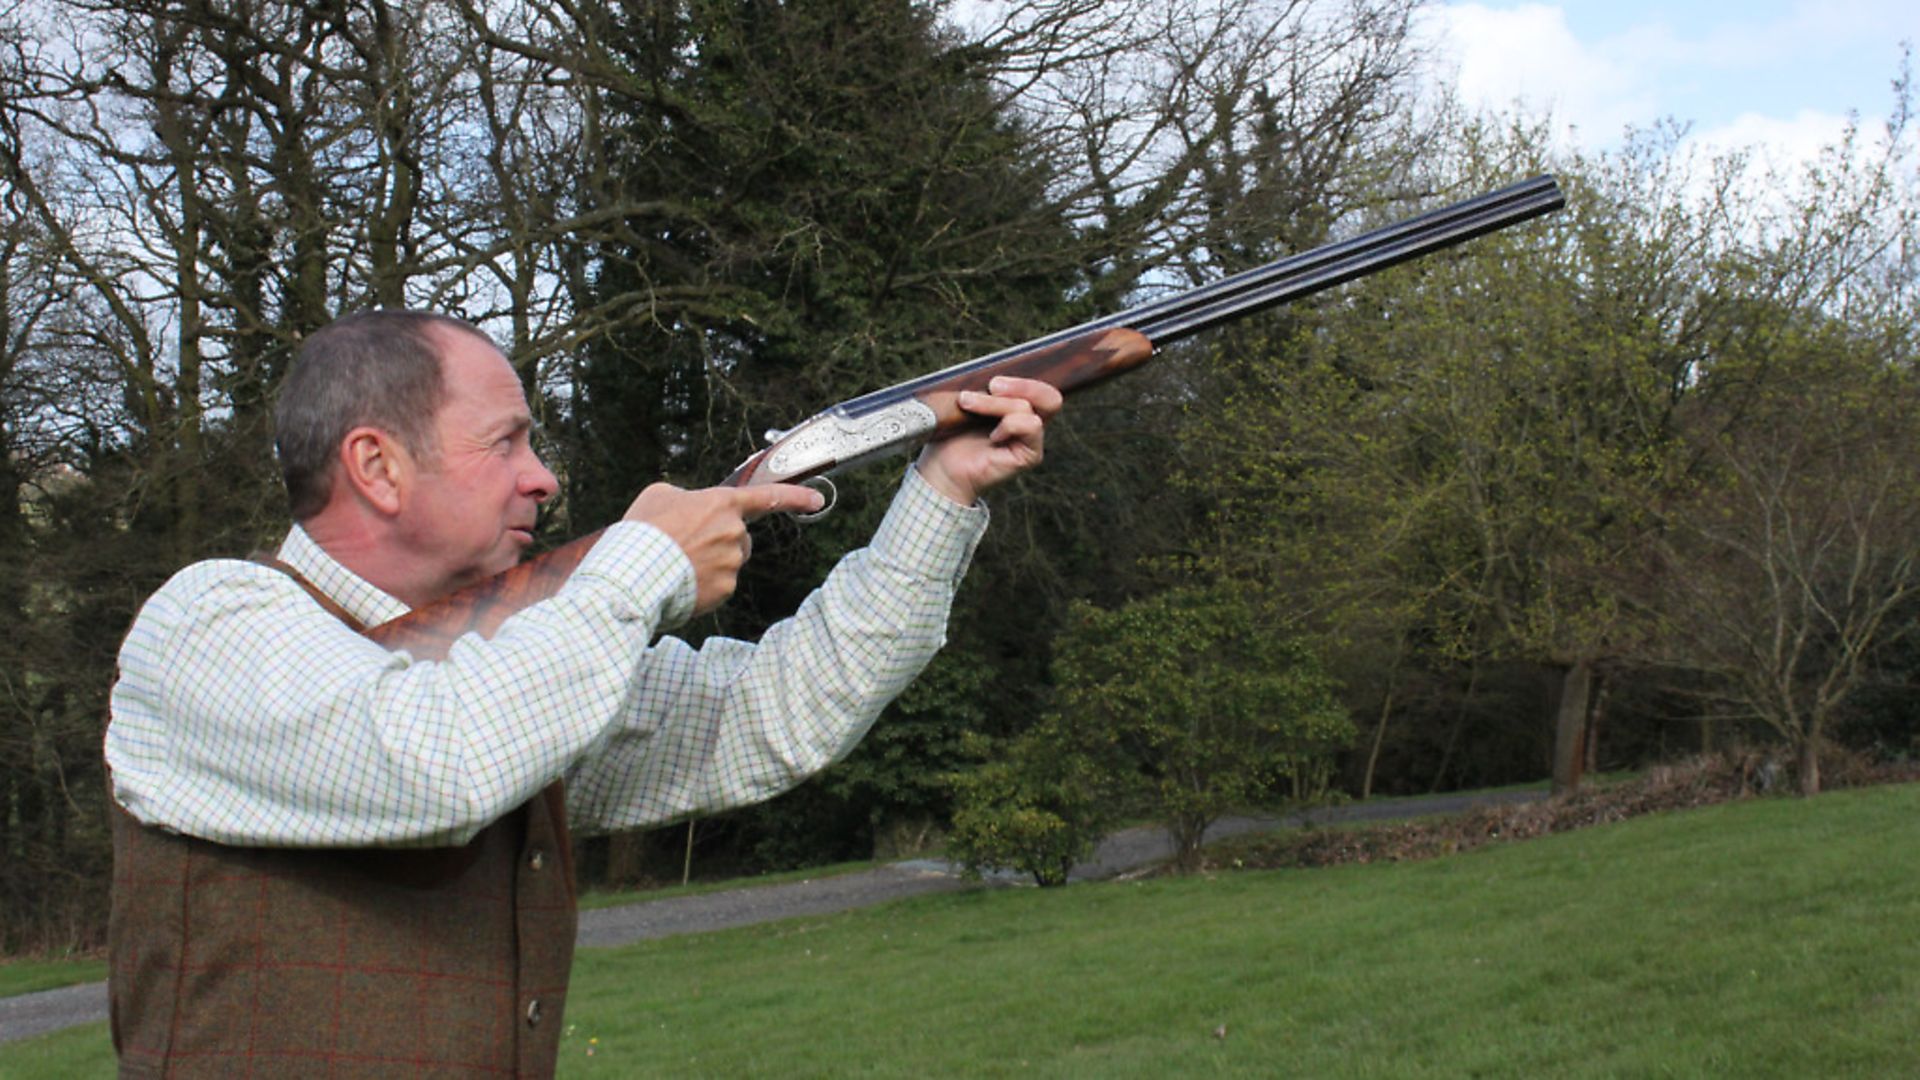
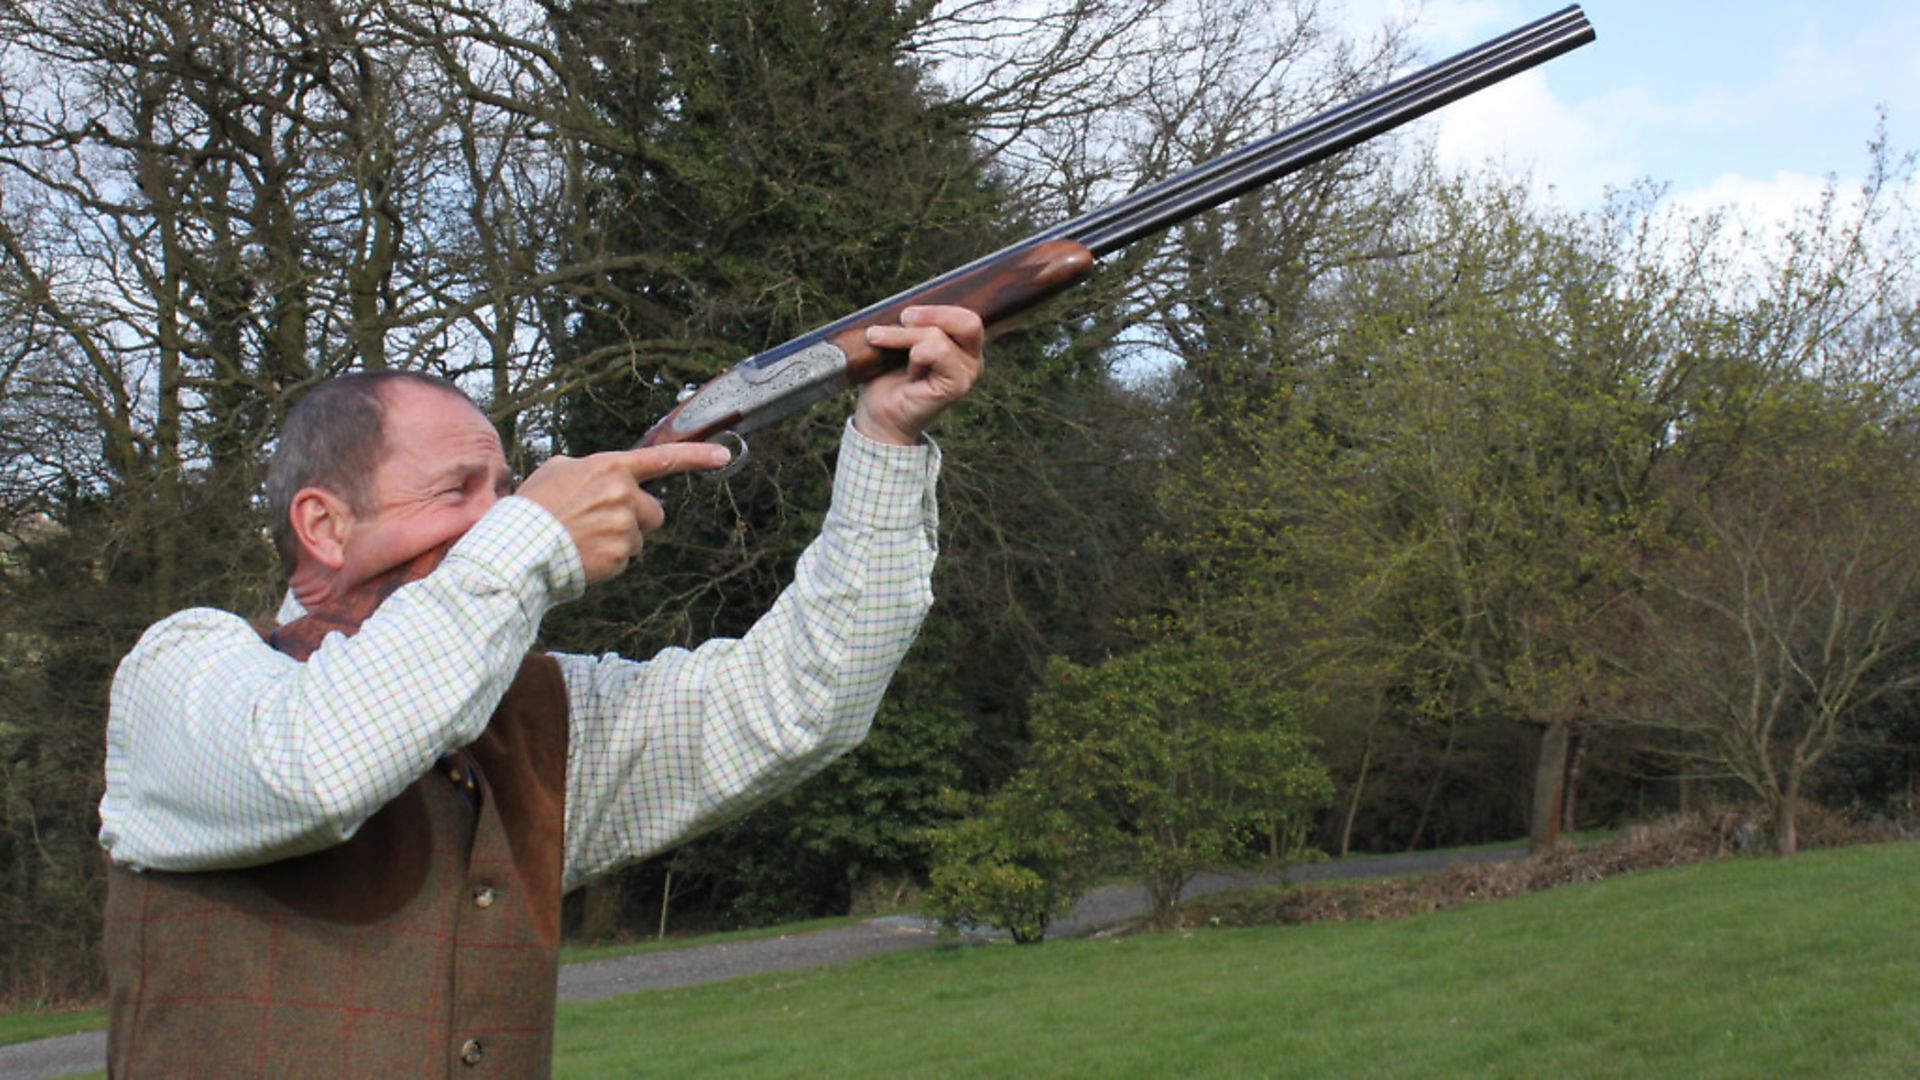
Shooting at a Gurston type venue, you will need a starting position with your muzzles well up, similar to that on a pheasant day. Ideally, there should be a line from your eyes across the muzzles to the point at which you intend to commence the mount onto your intended bird, so that you lock your visual focus onto it, along with the muzzles, pushing forward with the front hand. Keep the muzzles moving with the bird, not behind it, the rear hand following the direction of the front, so that the comb comes into the face, and the shoulder pushes forward into the gun butt. Apply the lead, fire and follow through, ready to take a second bird.
If you have done all of the above correctly and shot the first well out in front, like a gentleman, you will have time to take a second bird. If, however, you have shot the first bird overhead, hanging onto the shot, you will have to either rush a shot with your head off the stock and weight on the back foot, everything wrong in fact, or take the gun down, (dismount it) and start a new shot in front – the preferable option.
Hopefully, if you are shooting at an estate where birds are driven to you over hedges, they will have left them uncut or at least as high as possible. Now your start position and your hold position will be a little different. You should have a line from your eyes across the muzzles to the top of the hedge, so that when a bird appears, you can push forward with the front hand and mount in the same way we have just looked at. If you have your barrels too high, when you see a shootable partridge, you will have to pull the barrels down, moving in the opposite direction to that of the bird, before you can even start to mount your gun. If that hedge is 20 yards or less away, you won’t have time for a shot in front, which is one reason why you see so many birds being shot at behind the line.
Your host should have briefed all the Guns at the start of the day about shooting behind, when and whether it is permissible and what the procedures are. Every time you release a shot, you are responsible, it is no good saying: “I was told I could shoot behind”.
 credit: Archant
When you arrive at your peg, have a look around and note the position of stops and pickers-up. Be aware that 30g of No. six shot will travel at least 250 yards, further if you use heavier loads, and you need to allow a good margin for safety. Often, birds will descend after crossing the line of Guns, so you will be shooting low behind, and you need to be clear about where it is safe to do so.
To shoot behind, you need to turn your body and remount your gun, better to take it out of the shoulder as you turn. Draw the butt back under your armpit and bring the barrels low, just above parallel to the ground, so that having completed the turn, you can push forward with the front hand into the bird. If you keep the gun in the shoulder as you move, you will be trying to force it towards your quarry, effectively using a ‘dead’ gun – from the ‘poke and hope’ school of shooting!
Often, if birds are not presenting out in front so a straight driven shot is not feasible, you can have very sporting shooting by taking partridge out to the sides as wide quartering or even crossing shots. If you and your fellow Guns decide to do this, birds need to be safely up above other Guns. It is fine in a syndicate or group where you all know each other and have experience and confidence on your side, but if there are any less experienced shooters in the group, they need some guidance, or perhaps a loader stood with them. Wear safety glasses and make sure everyone has insurance.
Now is the time to look at your gun, cartridge stock, etc – if you haven’t already done it, don’t wait until the night before your first shoot to find your gun is rusty, you only have a few cartridges and your shotgun certificate has expired. In next month’s issue, we will look at some practise techniques you can use at home to make your season more successful.
 credit: Archant